
How to Plan a Complete Landscaping Project Without Wasting Your Budget
Planning a landscaping project comes down to five decisions made in the right order: work out how the space has to function, deal with water and levels before anything is built on top of them, choose a small palette of materials, put the money into the parts that cannot be redone, and sequence the work from the ground up so nothing finished gets wrecked by the next stage. Do that, and even a project built over two or three years will end up as one garden rather than a set of patches.
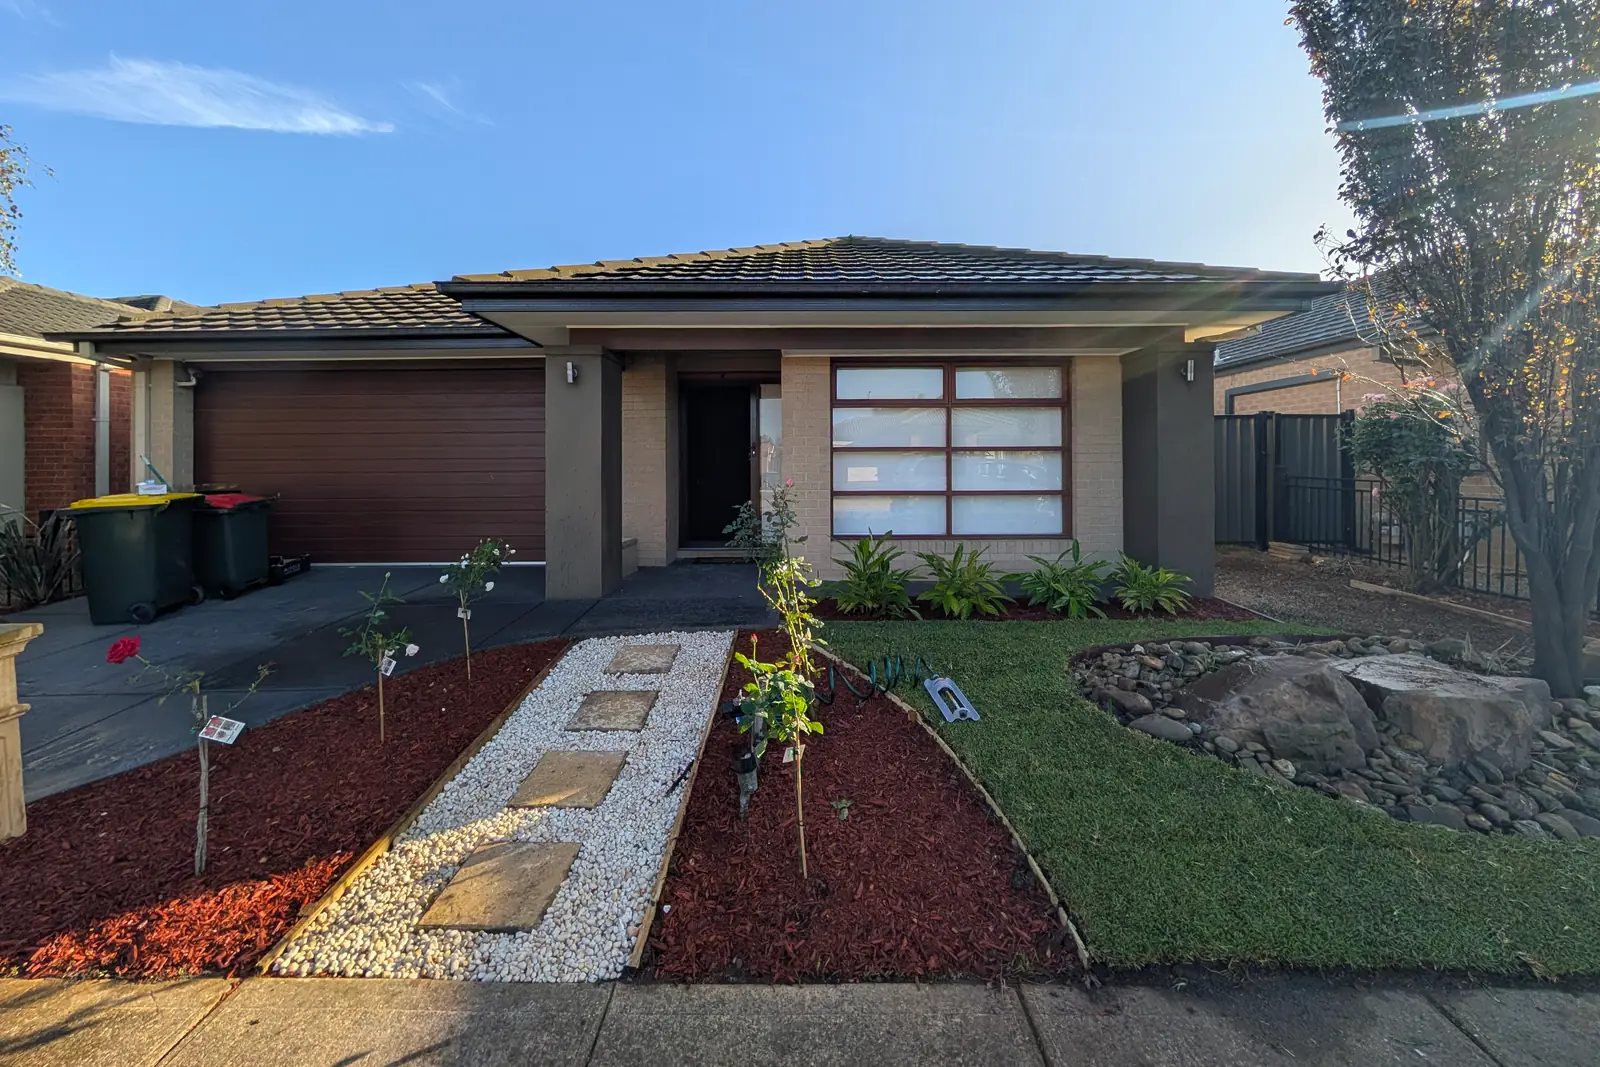
Planning a landscaping project comes down to five decisions made in the right order: work out how the space has to function, deal with water and levels before anything is built on top of them, choose a small palette of materials, put the money into the parts that cannot be redone, and sequence the work from the ground up so nothing finished gets wrecked by the next stage. Do that, and even a project built over two or three years will end up as one garden rather than a set of patches.
A good landscape is not a collection of attractive products. Turf, paving, retaining, planting, lighting and irrigation have to work together around the house, its levels and the way people actually move through the yard. Most wasted money in landscaping is not spent on the wrong paver; it is spent lifting good work to fix something that should have been done underneath it.
Start with how the space should work
Before choosing pavers or plants, list what needs to happen in the yard: outdoor dining, a safe play area, a low-maintenance front garden, pet access, storage, privacy, a dry path to the side gate or bins, or easier upkeep for a commercial property.
Sort the list into:
- essentials the project must solve;
- features you would strongly like;
- future additions that should be allowed for now; and
- visual preferences.
This stops finishes from consuming the budget before the functional problems are fixed.
Assess the existing site
The design should respond to what is already there. Note sun and shade through the day, slope, drainage, soil, existing trees, underground services, access, neighbouring properties and the levels around doors and paths.
Photographs are useful for a first conversation, but a site visit is where dimensions, access and construction method become clear. A narrow side gate or a difficult excavation route changes how the job is done and what it costs, even when the finished area is small.
Resolve water and levels early
Drainage and levels are the quiet parts of a project, and they influence almost everything. Water must move away from the house and never sit against retaining walls, paving or turf. Runoff from roofs and neighbouring blocks has to go somewhere too.
Melbourne adds its own complication. Much of the city's west and north sits on reactive basaltic clay that swells when it is wet in winter and shrinks when it dries out in summer. Paving, walls and paths built on that ground without a properly compacted base and somewhere for water to go will move with it. If your yard needs retaining or significant level changes, those elements will usually shape the rest of the layout, so settle them first. Our guide to whether your yard needs a retaining wall covers the warning signs.
Build a material palette, not a catalogue
Too many materials make a yard feel busy. Choose a limited palette that suits the house: one main paving family, a consistent edging approach, one retaining material and planting that repeats across the space.
Judge materials on durability and expected use, slip and heat underfoot, cleaning and maintenance, how the colours sit beside the house, and whether the product will still be available if a repair is needed later. Look at samples outdoors; colour and texture change completely between full sun and shade.
Budget planning checklist
The parts that are hard to redo should be protected first. Work through the budget in this order and ask for the quote to be broken down the same way, so you can see where the money is going.
- Site works you cannot skip: demolition, removal of old surfaces, excavation, tip and disposal fees, and the hours of machine or hand access the site allows.
- Drainage and base preparation: compacted base under every paved area, falls that carry water away from the house, and any agricultural drain or pit the site needs. This is the layer nobody sees and the one that decides whether the paving is still flat in ten years.
- Structure: retaining walls, edging and any steps or level changes.
- Services and sleeves: irrigation lines, conduit for garden lighting or power, and spare sleeves under paths for anything you might want later.
- Surfaces: paving, decking, gravel or stepping stones, including cutting for curves and edges.
- Soft landscaping: soil improvement, garden beds, mulch, planting and turf, usually the last money spent.
- A contingency for what the ground reveals: buried rubble, old footings, wet clay or a service in the wrong place. Set some of the budget aside for it rather than discovering it halfway through.
- What is excluded: ask specifically about disposal, permits, council crossover work, plumbing connections and plant establishment. A cheap quote is often a short one.
If the wish list exceeds the budget, reduce the area, the number of materials or the number of features before cutting preparation. A smaller project built correctly is better value than a larger one that starts moving or holding water.
Put the work in the right order
A typical sequence is:
- site protection, demolition and removal;
- excavation, drainage and underground services;
- retaining and structural landscape work;
- paving, decking, edging and major features;
- soil preparation and garden beds;
- planting, mulch and turf; and
- clean-up, handover and aftercare.
The exact order changes with the site, but soft landscaping and turf come after the heavy construction so new work is not damaged. Turf in particular goes down last: it cannot be driven over, and a new lawn that gets wheelbarrowed across for the next stage will not recover.
How staging prevents rework
Staging spreads the cost of a substantial project over time. It only saves money if the final layout is decided before the first stage starts, because the first stage has to leave the later ones somewhere to go.
Practical ways to stage without rework:
- Do all the earthworks, drainage and retaining in the first stage, even for areas that will be finished later. Getting a machine back into a finished garden is where rework begins.
- Lay conduit and irrigation sleeves under any path or paved area now. A length of pipe costs little during construction and a lot once the paving is down.
- Leave a clear access corridor for later stages, and protect finished surfaces along it.
- Bring turf and planting forward only in areas that will not be crossed again.
- Keep the same materials list across stages so the finished garden reads as one design.
A hypothetical example: a backyard where the owners want paving and a lawn this year and a deck off the living room next year. If the deck footings, the drainage behind it and the conduit for its lighting are put in during stage one, the deck later slots into a finished garden. Skip them, and next year's job starts by lifting this year's paving.
Two completed jobs show the principle at smaller scale. On a front-yard transformation with a raised planter, the sleeper planter was built and backfilled before the turf went down around it. On an instant turf and feature-planter job with garden lighting, the old surfaces came out first, the beds were framed and the low-voltage lights were set into the pebble borders before the lawn and planting finished the yard, so nothing had to be lifted afterwards.
Plan for maintenance from day one
Every garden needs some care. Think about mower access, hose reach, irrigation, leaf drop, pruning, pets, weeds and how easily surfaces can be cleaned. If low maintenance matters, say what it means to you: some owners want no mowing at all, others enjoy a lawn but want simpler beds. Clear expectations produce a more suitable design.
Use real priorities in the quote brief
A useful enquiry does not need technical drawings. Include the suburb and property type, photographs of the current area and the access to it, what is not working now, the main result you want, approximate dimensions if you know them, preferred timing, and any budget range or staging requirement you are comfortable discussing. That gives a landscaper a far better starting point than a list of products.
One plan, even if the work is staged
Bastiano Landscaping designs and builds complete outdoor spaces around the property rather than a generic package, and handles the hard landscaping that everything else sits on. Browse the projects for practical combinations of turf, paths, retaining and planting, or tell Sebastian what you want the space to achieve.
Related reading
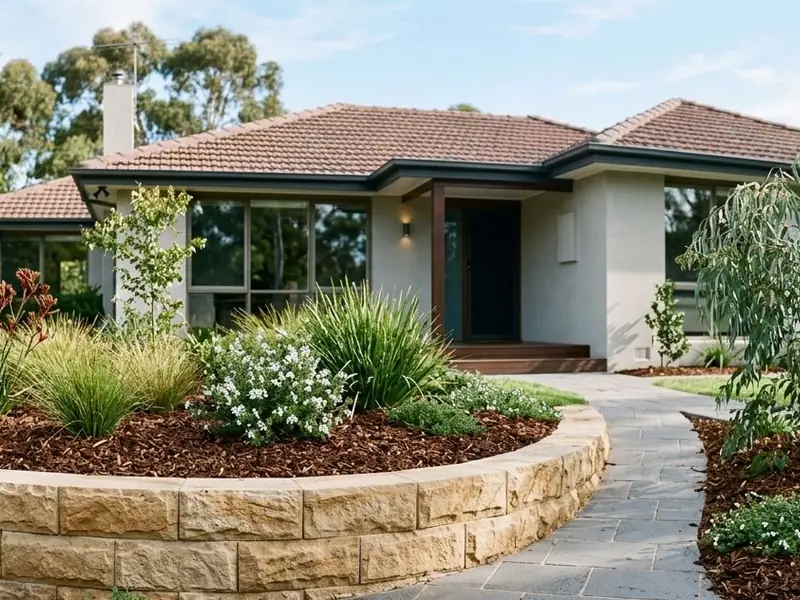
Does Your Melbourne Yard Need a Retaining Wall?
A retaining wall is used to hold back soil where ground levels change. It can create a usable lawn, protect a path, support a garden bed or help organise a sloping site. It should not be added purely as decoration without understanding what it needs to retain and where water will go.
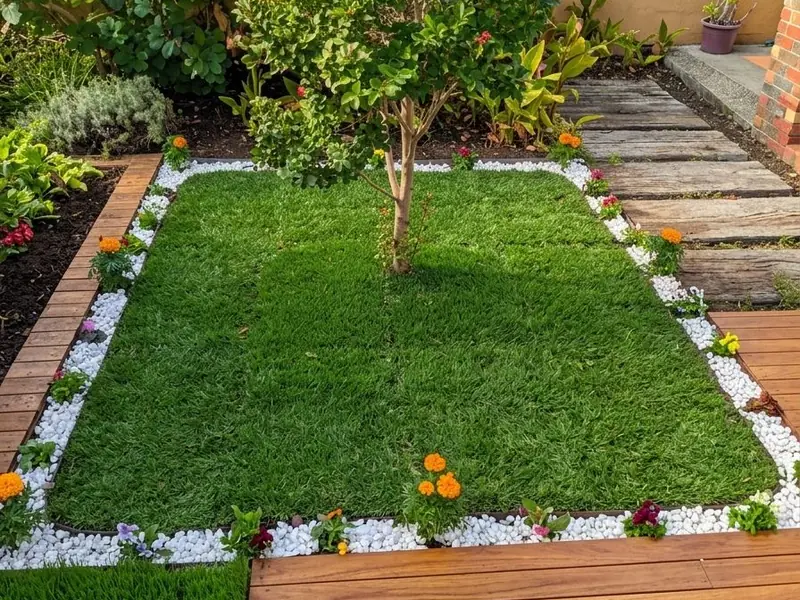
Small Backyard Landscaping Ideas That Make Better Use of Space
A small backyard does not need miniature versions of every feature found in a large garden. It works better when a few functions are chosen deliberately and the space between them is kept clear.
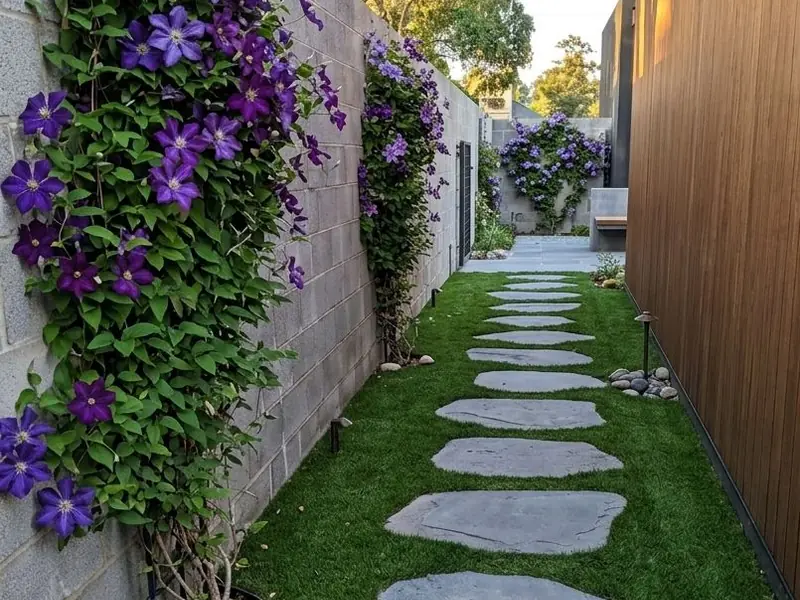
Pavers vs Stepping Stones: Which Is Better for Your Garden Path?
Pavers and stepping stones both give you a clear route through a garden, but they solve different problems. Continuous paving is the better choice where the path is used every day, in all weather, by people carrying things. Spaced stepping stones are the better choice where traffic is lighter and you want the path to sit gently in lawn, gravel or planting rather than cut a hard line through it.